How to do product photography without breaking the bank
Product photography sells! The good news is that even small businesses can snap great-looking product photos without breaking the bank. The trick is understanding how to use pictures to show shoppers what your product is and why they should buy it.
Read on to learn how to stage and photograph products properly. So you can get the most out of your resources, whether it’s a do-it-yourself project or an investment decision to hire a professional photographer or rent a studio.
Product photography: Why is it important
A picture says as much as a thousand words. This is because people process a lot of information visually. Therefore, it is important to know what you want to communicate. Check out how leading brands in your industry handle photography so you can understand if you want to do something similar or completely different.
To get started, check out these examples of different approaches to product photography.
Product photography: Food
Consider adding texture to the background of your photo shoot. For example, these three examples use wood grain in very different ways.
A flat background doesn’t mean boredom. Attract attention with a bold splash of color, keep your product in the center of attention with classic white or create a high-quality atmosphere with a dark background.

Beer & wine product photography
Although all of these wines are depicted against a white background, the choice of photographing them close-up, from an angle, or straight ahead conveys the brand’s personality.
Color has a strong influence on the perception of product photography. Compare how the cool blue, luxurious black, and sunny yellow backgrounds change how you see the bottles shown. In the case of blue wine, the color also highlights an interesting sales argument for buyers.
Beauty product photography
Use a background that matches the type of product you’re selling. Compare the effects of marble and stone textures with the product shown against a pure white background. All three work in different ways to arouse enthusiasm for the beauty products presented to their viewers.
Beauty products aren’t always just about marble. Color can also convey luxury, whether it’s a subtle placement of juicy leaves, a striking background, or an arrangement of hues across the product line.
Books product photography
Books are a great section to show what you can do with photography. Add context to a book by stacking several on top of each other to create the feeling of browsing a bookstore, placing it on a wooden table, or suggesting the city’s lights behind the book.
Use angles, background color, and effects (like a subtle shadow) to spark interest. Another option is to show your book’s printed and digital versions. A thoughtful touch like this can ensure that the buyer sees himself reading the book!
How to plan ahead for your product photoshoot
As you can see, product photography involves a number of choices such as angle, distance, lighting, and background. Some things, like angle and distance, are easier to play around with during the shoot. Other things, like lighting and background, are better planned in advance to get the most of your time and effort.
So how do you make these decisions beforehand?
Choose your product photography background
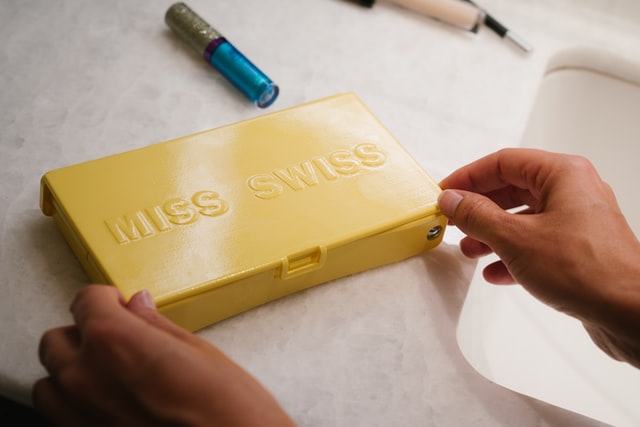
A slight change in the background can greatly impact how customers perceive your product. Do you want them to see your product as more technological or completely natural? This would help you decide between a bold, white background or a more natural texture, like wood grain or lush green leaves.
Look at the examples above and determine which photos are closest to your brand’s appearance. You can also research how other companies in your industry are performing. Do you want to match or stand out with the same aesthetic? Save images that feel right for your brand and line of products. They’re a good guide whether you’re doing the photo shoot yourself or planning to hire a professional photographer.
This is a great opportunity to create a branding style guide if you can. It is a valuable tool that can serve as a guide for photography and the design of important brand elements such as logos and packaging design.
Choose your product photography lighting
The two main categories of photographic lighting are flash and continuous lighting.
Flashlight triggers very strong light for a short time, which can produce noticeable results … but only if you know what you are doing. If you choose to go this route, it may be best to hire a professional photographer (more on that later).
Continuous lighting means constant light. Basically, you turn the light on, and it stays on until you turn it off. This type of lighting is easiest for self-conducted photo shoots because you can see what the picture will look like.
Continuous light can control the intensity, which influences the overall effect.
But how do you know how strong your light should be? Well, the answer is that photography is subjective and you will develop your own style over time. But here are a few quick tips to get you started.
1. What is your background?
The choice of intensity depends heavily on the background of your photos. As a rule of thumb, harder light is best if you plan to use a black background so that the products stand out against the background.
More diffused lighting is best if you’re using a white, light, or natural background. This prevents your product from disappearing in the background.
2. What is your competition doing?
Your competition is a valuable source of inspiration. Whether you take photos yourself or hire a professional, you should research how other companies in your industry display their products to decide how you fit in or stand out.
3. What’s your style?
The best way to find out your preferences when it comes to light and everything about photography is to try it out. Check out these creative exercises to improve your skills if you need inspiration.
As your technical skills improve, you will find that you have a lot of control over how your product looks and how your photos make shoppers feel, simply by changing the background and lighting. The subtle variations in these choices define your photographic style.
How to do product photography
Now that you know your goal, it’s time to learn how to build a professional-looking product photography studio. We have collected tips on how to set up your background, adjust the lights, take photos and edit them.
How to set up a product shoot
When we say you can plan product photography on any budget, we mean it! The compromise you make is the time you invest and the creativity you put into your planning.
Have your camera under control
Now you know the setup and look you need for your product shoot. Whether you’re shooting with an SLR or your smartphone, the next step is learning to use your camera’s manual settings.
Since there are so many different types of cameras, we’ll look at the three most important terms so you know what to look for in your owner’s manual (or on Google).

1. Shutter speed
The shutter on your camera allows the light to enter the camera for a certain period of time. The faster it can open and close, the more clearly you can capture a moment in a picture. If you captured a blurry picture, it is because the shutter was slower than the subject’s movement (or the camera if you have shaky hands). You can also experiment with slower shutter speeds to capture a sense of movement when selling something that you want to be “fast” like a car.
Newer smartphones have manual settings that give you control over the shutter speed, and you have this control on all SLR cameras. In most cases, when it comes to product photography, the faster the better, so your images will be sharp and clear.
2. Aperture
In photography, the aperture indicates the size of the opening through which the light passes while the shutter button is pressed. The aperture is measured in numbers called f-stops (e.g. f / 2.4). This setting helps you control the contrast between the main focus of your image and the background. The larger the number, the more contrast. This means that your product would be in focus, but the background would be blurred and thus not distract from your product.
You can’t actually control the aperture on a smartphone, but newer smartphones give more control over the depth of field, which creates the same effect.
3. ISO
ISO stands for International Standards Organization, a standardized scale for measuring light intensity. The lower the ISO, the less sensitive a camera is to light, which means that brighter light is needed to get a good picture of your product. As with the other settings, finding the right ISO value is an art, as pictures can look noisy if set too high (it becomes too sensitive to some light sources).
You can set your camera’s ISO value by adjusting the sensor. Newer smartphone cameras give you far more options, including ISO.
The interaction of these three elements will produce thousands of different results. This is great because it gives you tons of control! When it comes to product photography, you always want the focus on your product, so experiment a little with which settings direct your customer’s eye to where you want it. Don’t forget to take notes so you can reproduce the same effect every time.
Choose your best product photos
With the advent of online shopping, product photography has become more important than ever. That’s because they have to give buyers the experience of being able to view the product from a distance.
Before, during, and after the photoshoot, you should think about all of the different ways you can show off your product. Here is a checklist of the most important questions:
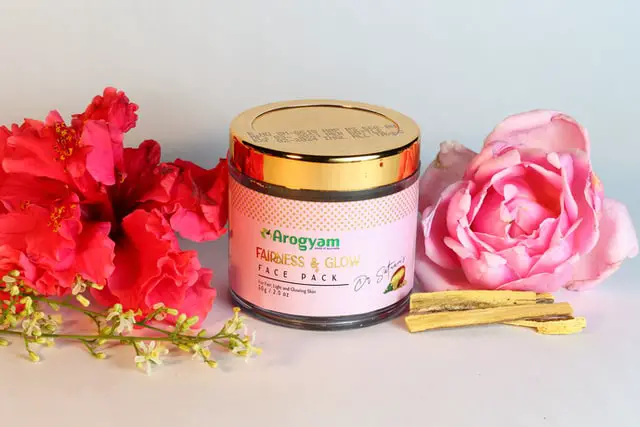
What are the characteristics of your product? How can you show them in a picture?
What are the most common questions customers have? How can you answer them with a simple picture?
Where or how is your product most likely to be used? Can you show your product in this environment?
Edit your photos (post-processing tips)
One last step before you have shiny new product photos to share online. No matter how carefully you have prepared your shot, illuminated the pictures, and made the settings, you almost always have to edit the pictures afterward. The good news is that this takes some of the pressure off you to be perfect during the photo shoot.
Here’s a checklist of simple photo editing options to keep your product photography looking the best it can:
Always make edits without changing the original directly. This means that the original file is saved, and you can return to it if you want to undo the changes.
Careful pruning can work wonders. If too much is happening in your picture or your product looks too small, crop it.
Lighten it up! If your product details are lost in the shadows, try to lighten the bigger picture.
Contrast can also be helpful. If your product looks too bright and disappears in the background, try increasing the contrast to make it stand out.
When you need a professional product photographer
Now that you have an idea of the style of photography you want and what would go with it if you did it yourself, it’s time to weigh the pros and cons of being a professional photographer.
Bottom line: you get what you pay for, but there are smart ways to get more out of your money if you are willing to invest the time.

