Probably the most frequently used program from the Microsoft Office series is Microsoft Word. Almost everyone will have worked with the popular text program at some point, and for most students and workers with office jobs, working with Word is part of everyday life.
Many are not familiar with the full range of functions of Word, do not know how to format a text in order to use the full potential of Word. Word can do much more than just capture text. The program has a variety of features that make creating a complete document incredibly easy.
The table of contents function in Word is extremely practical and helpful, especially for pupils and students. How often have students sat at their computer a few minutes before midnight and laboriously copied the page numbers into a manually created table of contents – even though Word can also create this automatically?
How to create a table of contents in Word
To create a table of contents in Word, you must first have formatted all headings appropriately. In the “Start” tab there are various format templates that can designate a paragraph as a heading or subheading.
A paragraph is created in Word with the ENTER key and is marked with the formatting character “¶”. A line break does not automatically mark the end of the paragraph.
Before you begin creating a table of contents in Word
A prerequisite for creating a table of contents is that Word knows where a chapter begins. The easiest way to do this is if you have formatted the headings with the appropriate styles.
If you don’t know what format templates are and you formatted your text manually for pure visuals, this is where it gets uncomfortable. Because without the use of format templates, creating an automatic table of contents is impossible.
Formatting the headings properly
Word can create up to 9 levels of headings. The different levels are also shown accordingly in the table of contents. A chapter heading should always be formatted as “Heading 1” followed by a “Heading 2” and so on.
The next chapter heading will then be a “Heading 1” again.
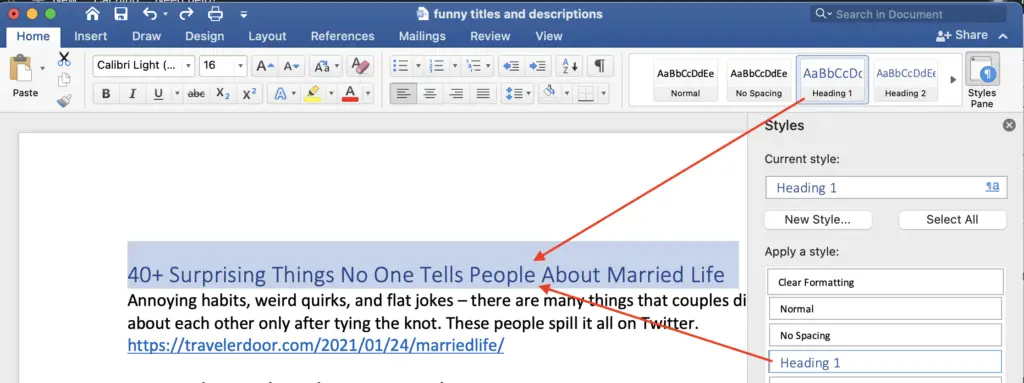
To create a heading, simply type it in, move the cursor to the heading and click on the desired heading level in Styles. The entire paragraph in which the cursor is located is always formatted as a heading.
Insert table of contents in Word
After formatting the headings correctly, you can insert the table of contents with just a few clicks. To do this, move the cursor with the mouse to the place where the table of contents should be inserted – this is usually on the second page of the document.
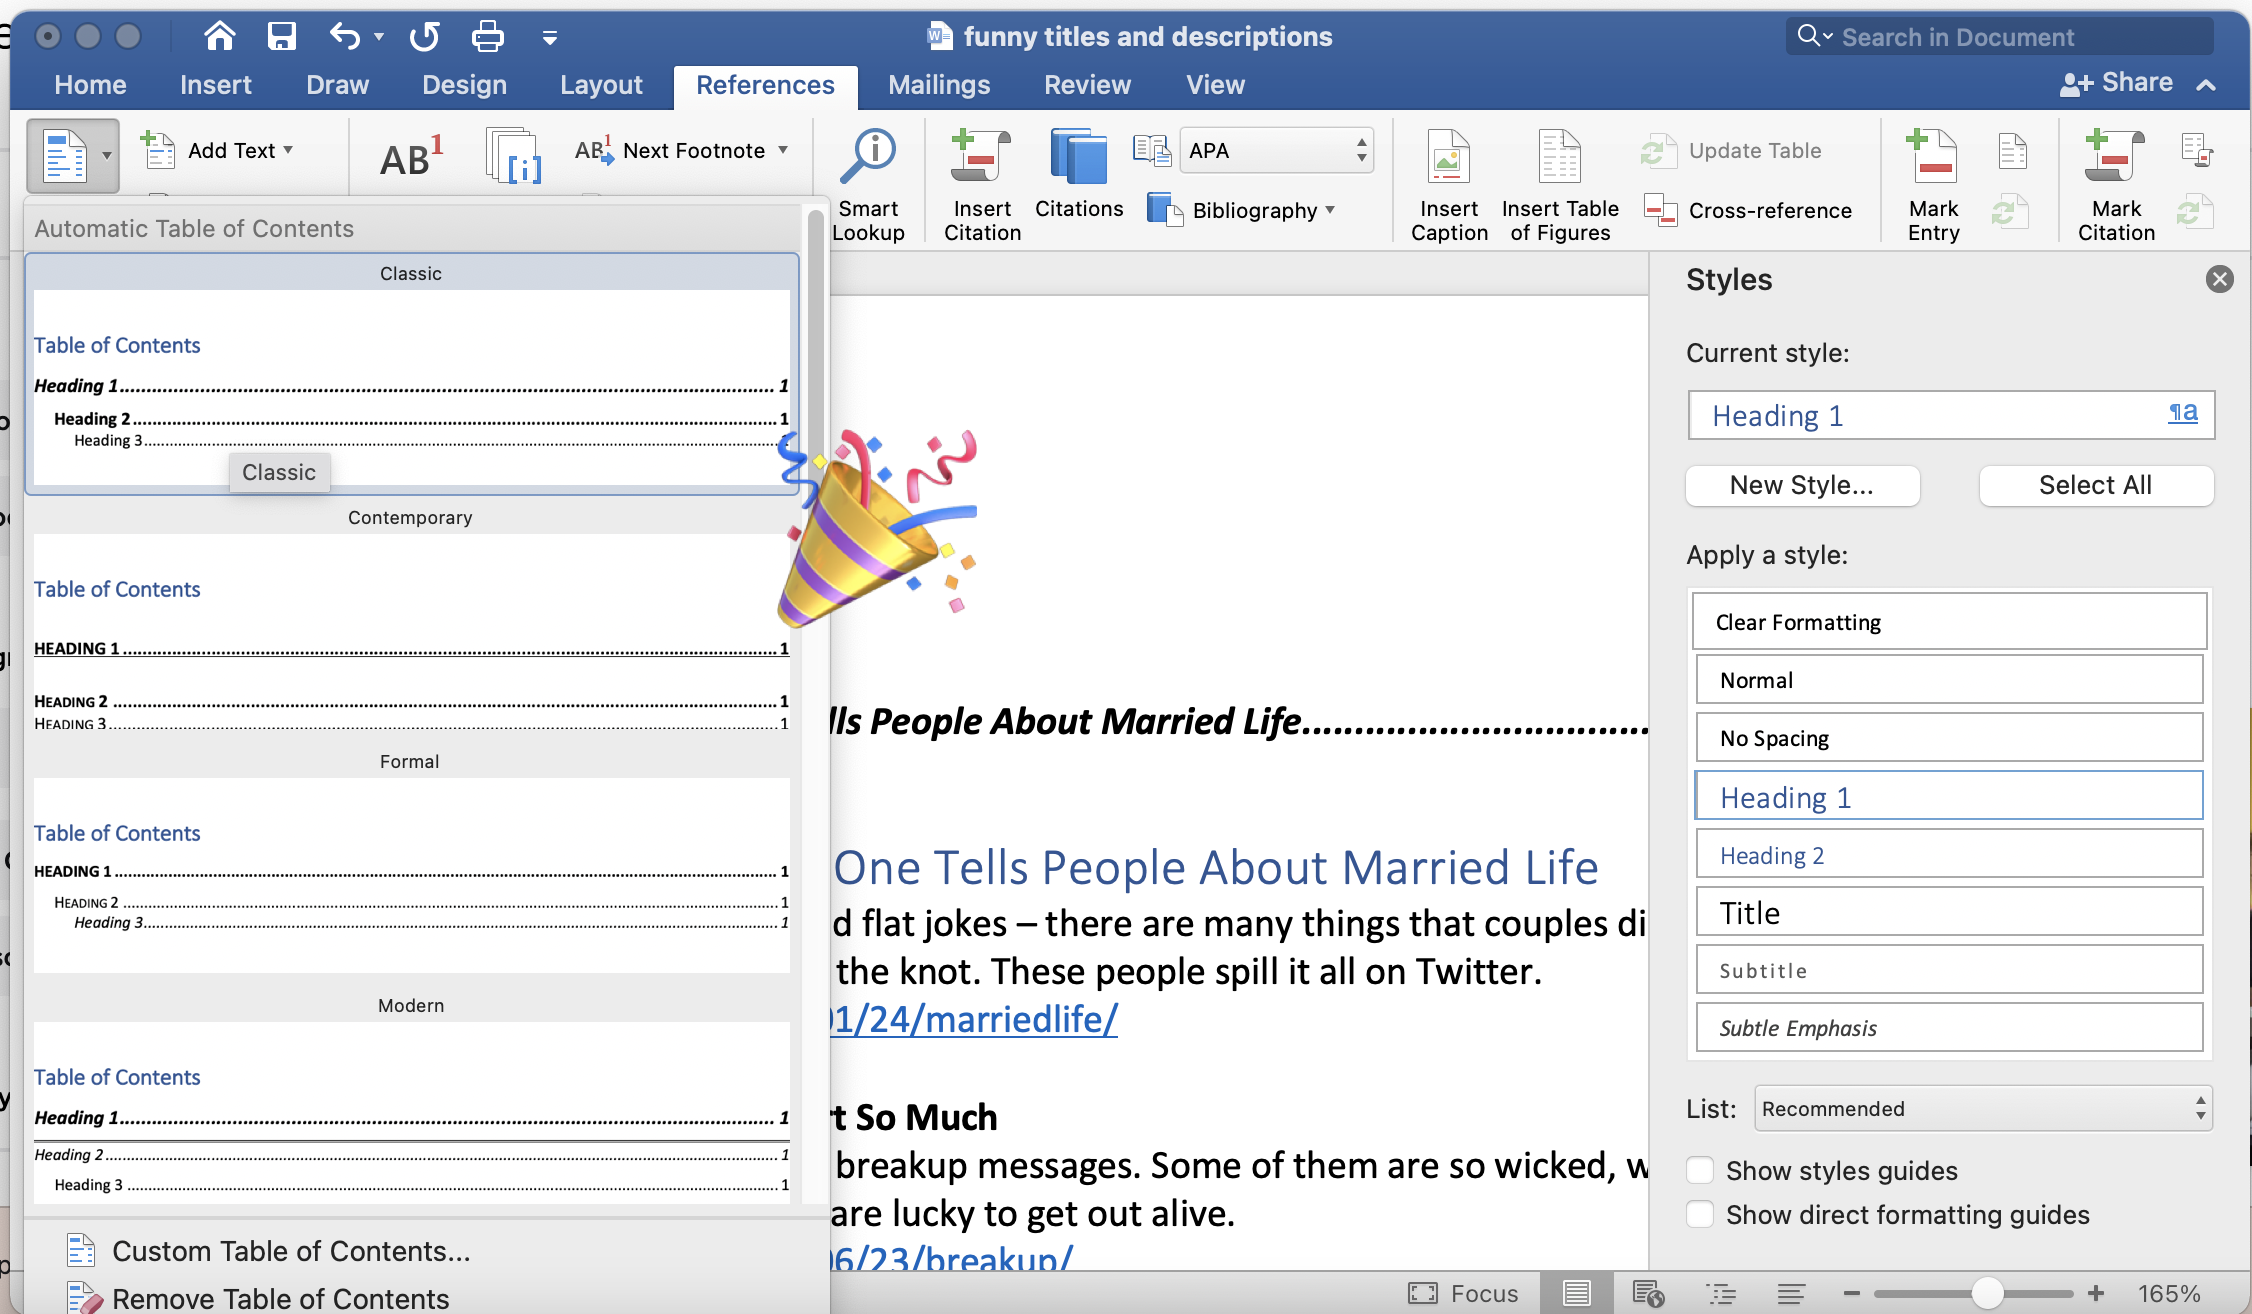
Then switch to the References tab and click on Table of Contents. A drop-down menu opens from which you can select a format.

When you click on the table of contents, Word automatically inserts the table of contents.
If you have formatted your text well with the existing heading formats, the table of contents is already finished. It shows the first three heading levels and of course the corresponding page number.
Customize table of contents in Microsoft Word
As always with the automatic finished taste: If you want more than the standard, you have to lend a hand. So let’s adjust the table of contents.
- On the References tab, click Table of Contents again.
-
Click Custom Table of Contents.
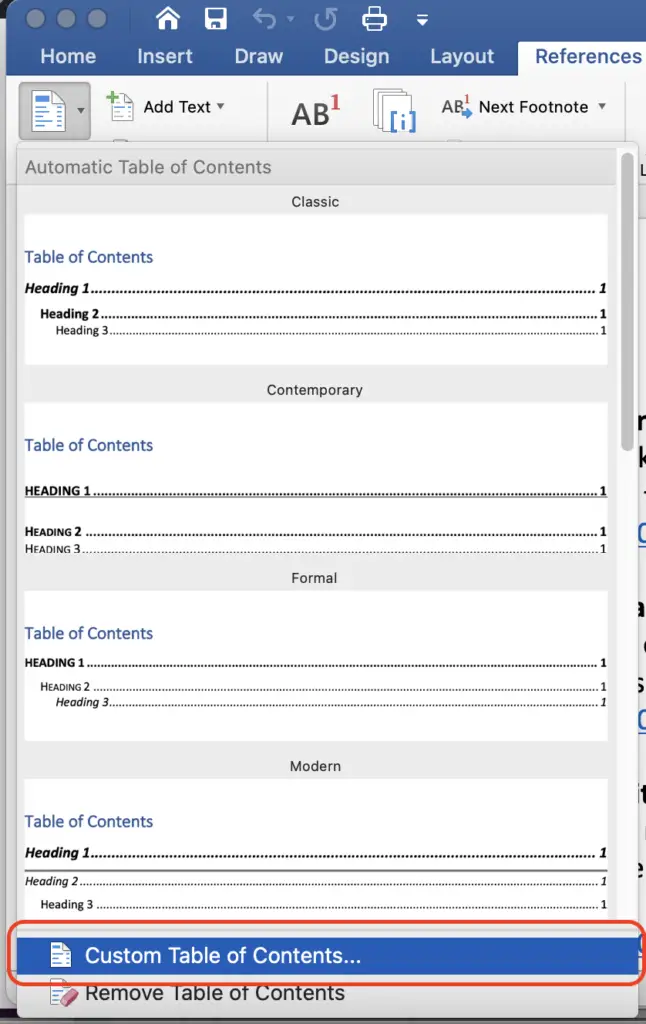
- Choose how many levels you want to display. Word knows nine levels for headings, which you want to see in the table of contents.
The table of contents options in Word
If you did not use the existing templates for the headings, click Options.
Here you can see the available format templates and you can choose whether and at which level they should appear in the table of contents. If the worst comes to the worst, deselect the standard headings and enter the table of contents level in your formats for the headings.
The assignment of styles to table of contents levels
We strongly recommend using the built-in heading styles. You have a lot of problems with self-made headline formats.
Redesigning Word table of contents
The standard formatting of the table of contents is not suitable? Reformat the directory.
- If you haven’t already done so: Display the Styles task pane. On the Home tab, on the right under Quick Styles, click the little arrow. The window with the templates appears.
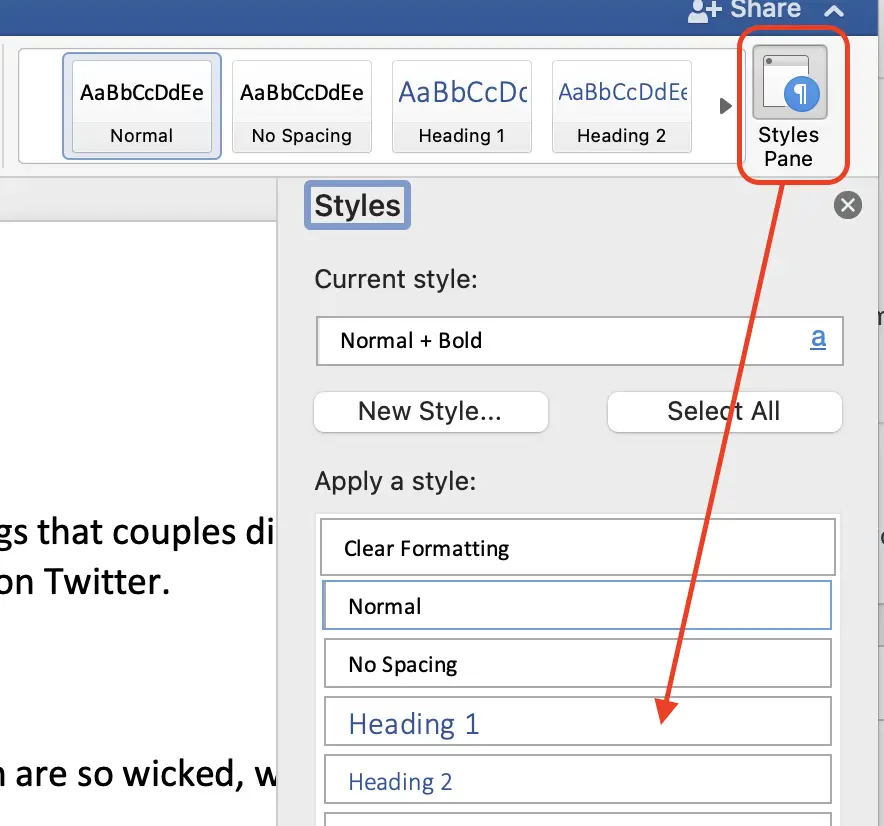
The small arrow brings additional windows to the Word interface
- Slide the window to the right edge to make it persistent and docked.
The list of format templates normally only shows the templates used. The table of contents formats itself with templates named table 1, table 2 and so on. However, these only appear if you have already added a table of contents.
The docked Styles task pane with the templates for the table of contents
- Right-click the style sheet and choose Modify. Format to taste.
If you click on Change, the window for editing format templates appears.
Updating the table of contents
Word uses format templates to get the information about where which chapter can be found. But this information is not updated automatically. In the References tab, next to the Table of Contents button, you will find another one labeled Update Table of Contents.
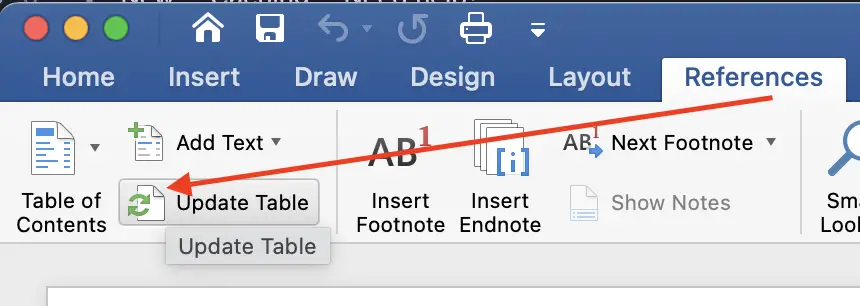
Don’t just update the page numbers, but the entire directory if you have changed anything in the headings.
Actually, Word should automatically update the table of contents before printing, but unfortunately this is not always the case. There is no harm in updating the table of contents manually.
FAQ about creating a table of contents in Word
Why don’t I write the table of contents myself?
You are welcome to type in all the chapter titles on one page again and then see which page the title is on. But then you add a paragraph in chapter 12, which pushes chapter 13 one page further, the graphic from chapter 5 has to be removed again, which all subsequent pages … You see: a lot of effort for an imprecise result. Let’s just let Word do the work.

