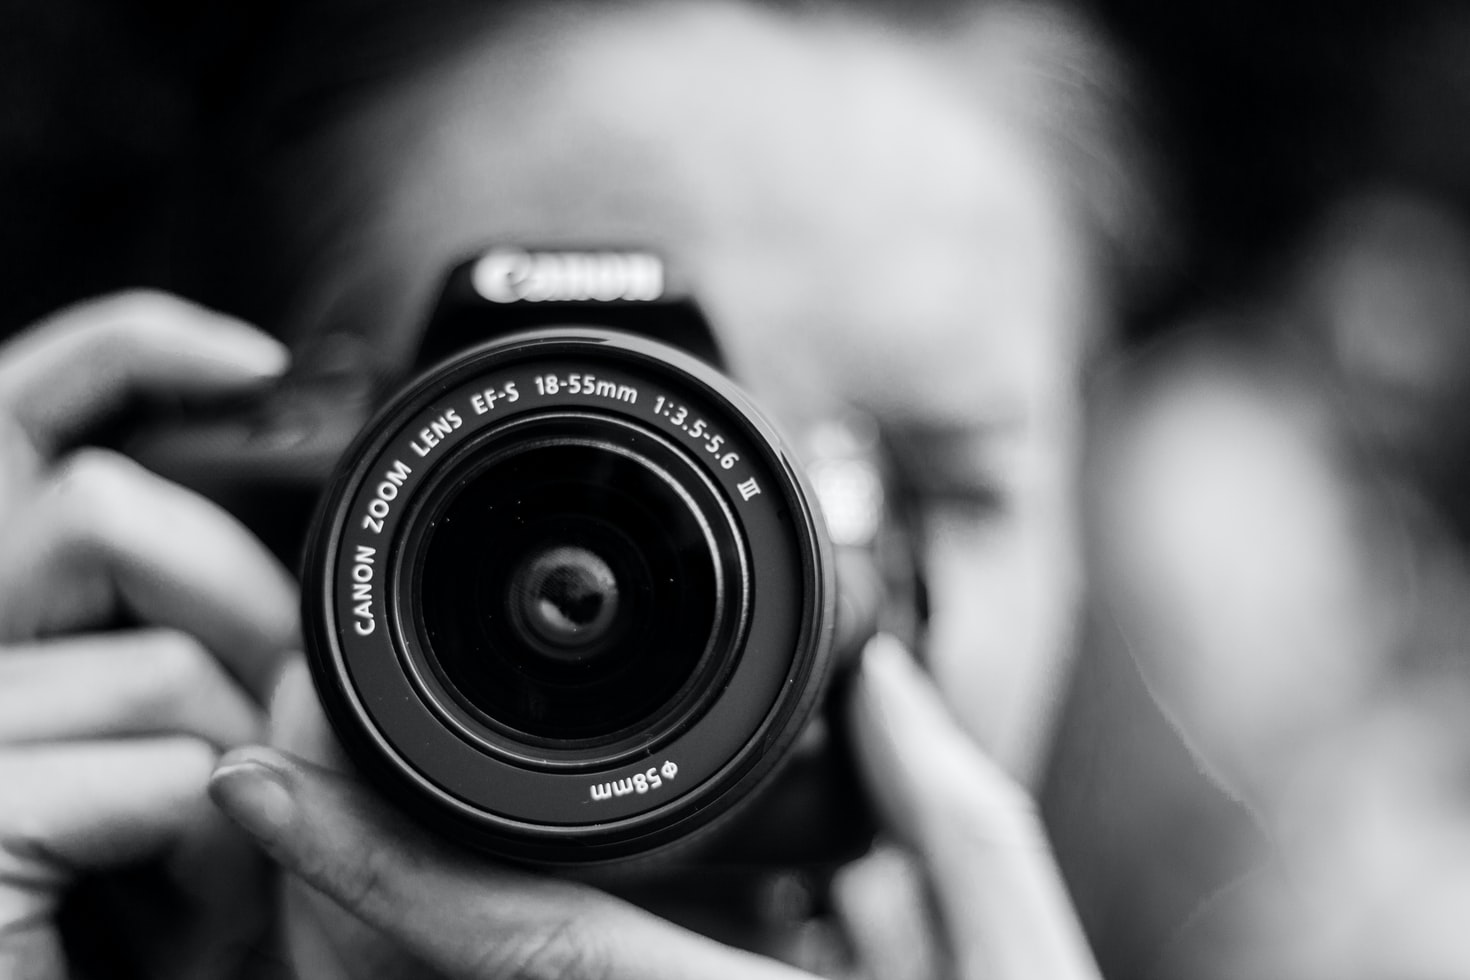
What are your best photography tips for beginners to help them take good photos? This very thought inspired me to write this blog post. What would I recommend in a nutshell to someone who wants to take good pictures? What should you keep in mind for every shoot? Let’s get started!
The result is a series of tips that our team photographers have acquired over many years. Of course, there are many other aspects. But these are the essential things that we pay attention to during shootings.
Photography Tip 1: Follow the Light
The right light is everything. Even people who don’t actually take active photos, but just want to take a quick selfie, are looking for it. That is why they are often drawn to the next window. There is already a simple but effective light structure there. A light source that usually comes evenly diffuse from one direction. That is actually what you should always remember at the beginning, but also for a long time later. Good photos can also be taken with good directional light.
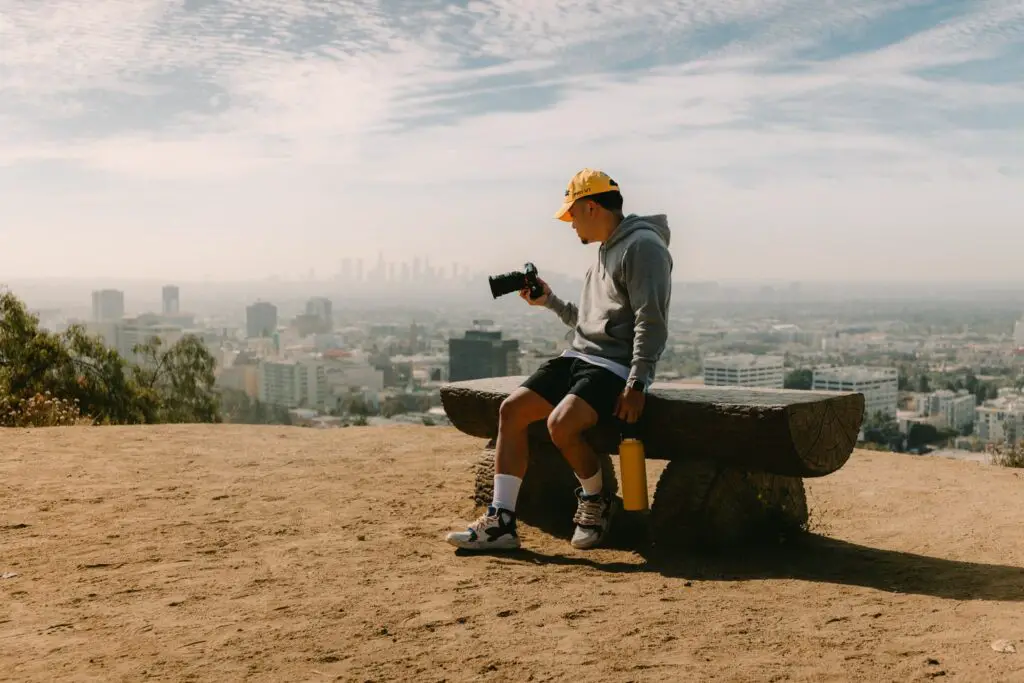
The situation with the window is of course just a simple example. Depending on experience, more complex situations can also be sought. But even later, the simpler setups can often be the better ones.
So follow the light until you find a suitable situation. Best where a light that is not too hard comes evenly from one direction. Here is a quick checklist:
- Avoid harsh sunlight
- Look for (semi) shady places
- Think about what time of day the light best suits your project
- Find interesting shadows for image composition
Of course, with a bit of experience, you can move the shoot into the hard sunlight. But you have to be extremely careful about unfavorable shadows on your face. These include, for example, dark circles in the midday sun or the classic “sunglasses effect” that occurs when the forehead casts a shadow over the eyes.
Photography Tip 2: Find the Right Angle of View
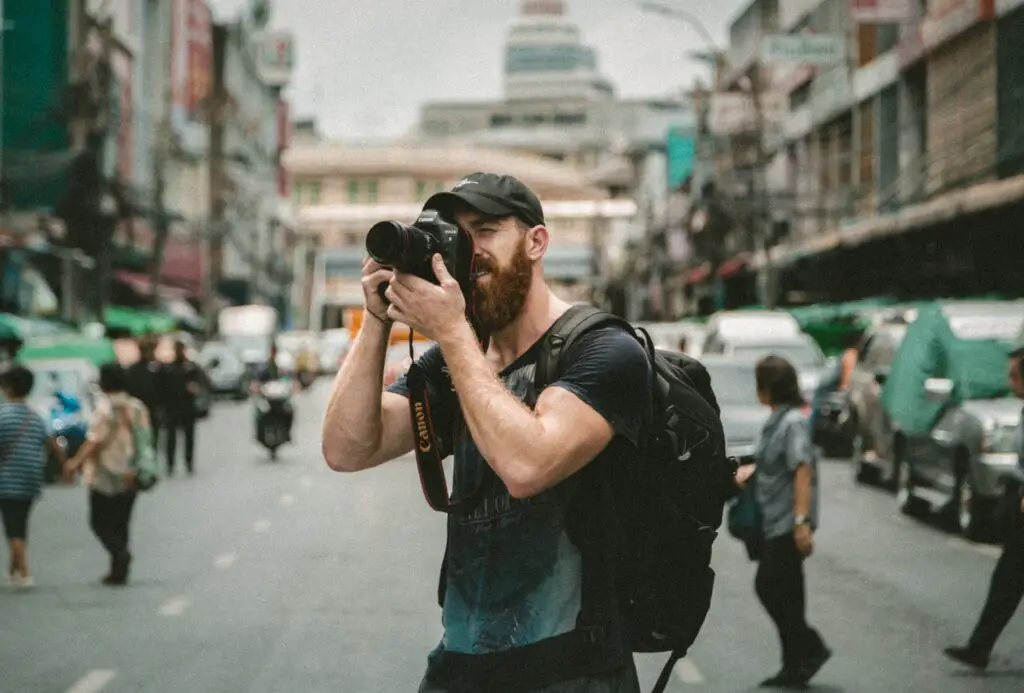
Never just shoot straight ahead at eye level unless you’re a tourist. If you want to take different photos, you have to take different angles as well. In general, you can photograph your model at eye level. But then pay attention to how you tilt the camera. Just a few degrees can create a completely different image effect here.
- Tilt the camera in the photo.
- The inclination of the camera often creates more dynamics than at a right angle at eye level.
Nevertheless, being on an equal footing is not always the best. Crouch down, lie down on the floor. Maybe your model is lying on the floor and you take photos vertically from top to bottom. 90 ° angles can work in and of themselves. However, you can then not create a “dynamic” effect that is caused, for example, with lines towards a vanishing point.

Photography Tip 3: Don’t Forget about Composition
From where to where should your section of reality go that you are about to capture? That is a very important question. What forms does it contain? Which lines? What can you play with?
A popular scheme for beginners is often: the golden ratio. Roughly speaking, this means that the photo is divided into thirds and, for example, the person is on one of the lines. But the whole thing doesn’t have to be. There are other compositions or distribution options.
Ourselves, and currently many others too, use the central perspective. Especially with a light wide-angle lens in the range of 24mm – 40mm you get an interesting effect if you place the model in the middle. In addition, the first portrait lenses were designed for a motif in the middle. This is because the focus was highest in the middle and no vignette was disturbed either.
So you can place the person in the middle for a portrait, but then you should carefully consider at which angle or with which focal length you are photographing. Otherwise, the whole thing can quickly seem too rigid.
I think the golden ratio is a good starting point, but with a little flair, you can also work between the thirds and go new ways.
Tip: Sometimes it is better to change sides, to look for a higher point or to bend down on your knees to get a good image section. A good image composition is sometimes the art of omission.
Photography Tip 4: Do the Exposure Yourself
Many people let the camera do the exposure and especially unconsciously at the beginning. That has to stop! The camera is a computer that exposes the photo as it “thinks” it looks good. In the end, people should find it cool and not a computer.
You should therefore take photos in manual mode and regain control. Basic knowledge of shutter speed, ISO and aperture is of course required. Hopefully, you will have it by the time you read this blog.
Often different moods only arise through under- or over-exposure. I am thinking, for example, of mysterious photos in the forest, which later get their very own effect through underexposure and the corresponding color grading. Or fashion shots that later appear exceptionally “clean” due to overexposure.
Unfortunately, that’s not always true. This is because the subject of “burned out lights” is often a problem. Areas that are completely white can often no longer be saved even in RAW conversion. On the other hand, I can cope better with dull black levels. Often these even intentionally remain in the photo – albeit with a reduced range of hues.
That is why I often under-expose something, e.g. in extreme situations such as harsh sunlight. So before you laboriously adjust by how many thirds the photo is underexposed or overexposed, you can also set the exposure in manual mode so that it looks “right” to the eye and get started.
Photography Tip 5: Play with Sharpness
You may have already missed the tip like “Play with the aperture”. A very important aspect. Because the moment you press the shutter button, the following happens:
A three-dimensional scene is captured on a two-dimensional sensor
You capture a scene that you are currently seeing three-dimensionally on a two-dimensional photo. The only way to reproduce depth is by using a high aperture, and of course viewing angle and composition. How do you make the best use of this effect so that you get a lively effect of depth in the picture?
Very simple: You build the photo and its composition on different levels. There is often a foreground, middle, and background in photos with a lot of depth. You often make means and background “accidentally”. You put a person down and focus on them. Let’s just call that the middle ground. The background is out of focus and out of focus.
The more open the aperture, the shallower the depth of field, which blurs the background wonderfully. This also fits: “If you use f / 2.8, the bokeh appears in real splendor”.
But where is the foreground now? For this, you have to take a closer look on your site and bring in the model. A simple example would be leaves or bushes that are out of focus in the foreground, just like the background. That gives the whole thing another level and makes the photo look deeper.
The depth of field increases the larger the f-number is selected (i.e. the “smaller”, i.e. the more closed the aperture is). With values above 8 to 11 it is possible to focus not only on the foreground. It should be noted that the shutter speed or the ISO number must be increased.

Photography Tip 6: When the Sun Is Shining, Watch out for the Aperture
This aperture setting is usually the best compromise to save image details in bright light. Automatic exposure programs sometimes weaken in this discipline and falsify the colors.
Photography Tip 7: Photograph Movement with the Aperture Open
This rule applies to objects in motion. Because the more open the aperture (= small f-number), the shorter the shutter speed. In this way, the movement does not become blurred, but can be frozen.
Photography Tip 8: Make the Most of the Golden Hour
The so-called golden hour of photography takes place twice a day, in the hour after sunrise and in the hour before sunset. That means: The sun is low, immerses everything in orange-reddish light, creates long shafts and simply creates a beautiful atmosphere.
The sun is the photographer’s little helper.
The bright midday sun is often avoided by photographers, as the strong light can swallow dark parts of the picture and burn out light ones. So therefore a siesta, so that you can go back to work later, more rested and in better lighting conditions.

Photography Tip 8: Don’t Forget the Blue Hour
In the hour of sunset the sky is especially blue. The contrasts are softened and the light has a particularly beautiful mood. Then the following applies: “Almost night already? Then use f / 2.8. ”Oh yes,“ nice mood ”is usually the best indicator for reaching for the camera. The trick then is to transfer the beautiful mood onto the picture as well….
Photography Tip 9: Be Careful with the Flash
Opposites seem to attract even with simple rules, because: “If the sun does not shine through the cracks, you have to flash the flash quickly.” But be careful with the direct flash, otherwise the faces will be overexposed in contrast to the background.
If you prefer not to use a flash, you should first open the aperture and then turn to the shutter speed and ISO setting. The following sentence warns of the noise from an ISO setting that is too high (depending on the camera from ISO 800 to 1600).
Photography Tip 10: The Background is Just as Important
The background of a picture should usually be calm and not too colorful, otherwise it will distract the viewer from the actual motif. The reverse rule applies to landscape shots, because in order to give the shots depth, the sentence is correct: “Foreground makes image healthy.”
Photography Tip 11: Make the Best Use of RAW
If your digital camera can save images in RAW format, i.e. uncompressed, you should use this. This makes it much easier to edit your pictures later on the computer.
Conclusion
Memorize these points and use them in your next shoots. The whole thing doesn’t happen overnight, of course. Knowing the points is one thing. To be able to really apply them is completely different.

